There are 13 participants this month. If you get lost along the way you can see the entire list of hoppers on Rachel's Blog. Let's get started.
Today I am showcasing a few cards that I've made this week. This month, there have been several birthdays at work and I knew I needed to get cards made, but I wasn't sure what to do. The weather here in Texas has not been winter-like at all, so I decided I'd go with flowers/bright colors. Now, I haven't been involved with Close To My Heart for very long (only a year) but I had some items laying around that could definitely be used to clear out some space.

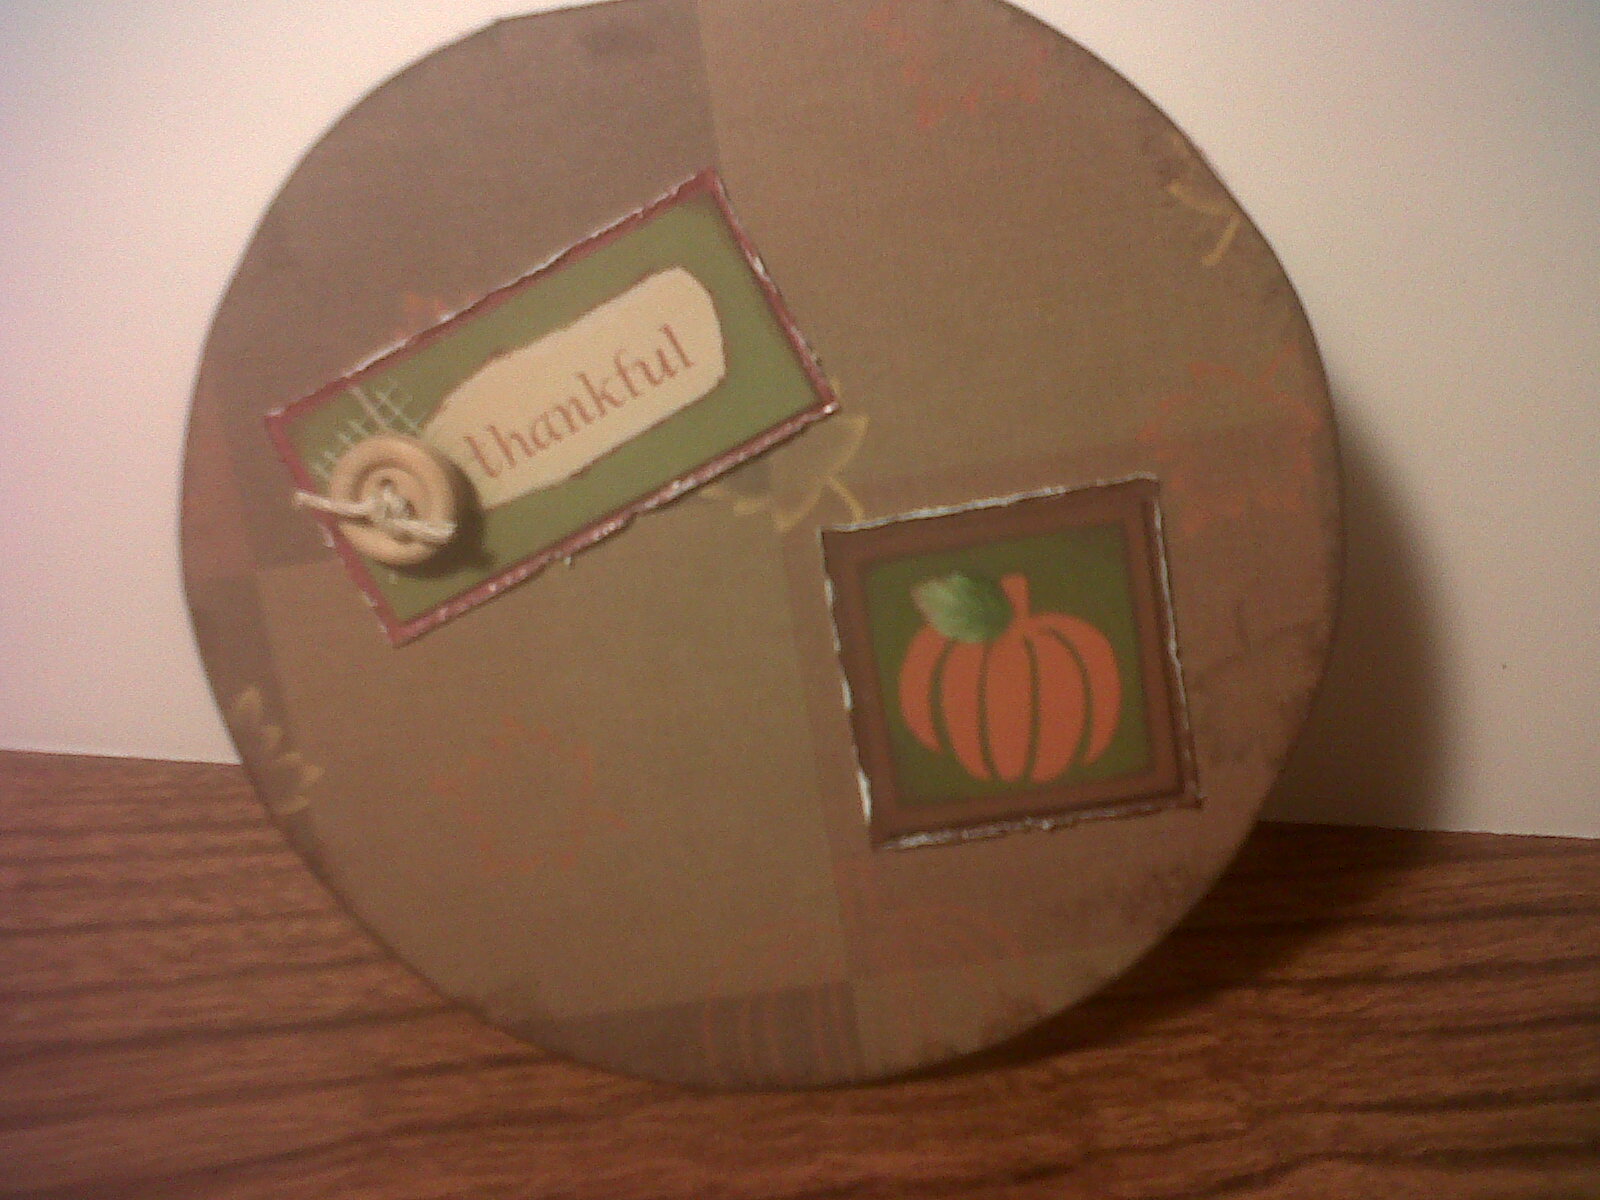
These cards are for a few of my friends/customers that I decided to send a new Idea Book to in our school mail. I used the 4.5 Circle Cards (Z1352). The flower images are from the Smiles stamp set (C1397) and the dimensional flowers were created by punching 5 2" circles with the 2" Scallop Circle Punch (Z1392) out of Mayberry (use any patterned paper you like) paper. I used 1 of the circles as base, the other 4, I folded into fourths. I lined up the points of the folded circles and glued them to the 1st circle. Then, I chose a cute brad to be the center of the flower.

This card, and the 2 that follow, are different variations from one I found in our
Wishes Card Confidence Program . When I'm stumped on a lay out of anything, I go to the How-To books by Jeanette Lynton, the founder of Close To My Heart.
For the black, white, and Tulip card, I used white card stock and cut it down to be a 4.5 x 4.5 card. I had a bunch of black and white paper, so I just cut it down to a 4x4 square. Add in a strip of colored cardstock (Tulip) and ink the edges to give depth. Next, I added a Dimensional Element that had been inked in Tulip to match the colored cardstock. I then added my sentiment and to jazz it up for the lady, I added bling. Every girl needs a little bling in her life, right?

Here is another card that is about 4.5 x 4.5 with a foundation cardstock cut at 4 x4. To give some dimension, I scored the pink-colored cardstock at every 1/4 inch. After I scored, I turned it over and sanded the paper using the Sanding Kit (Z1294). One of the things I love about cardstock from Close To My Heart is the fact that it has a white center and color on the outsides. So, when I sanded the paper, I sanded away the color to reveal the white underneath. Next, I cut a strip of patterened paper (again, Mayberry) and inked the edges. I believe this strip was about and inch or so. Remember, the whole card isn't more than 4.5" squared. Again, I found a Dimensional Element (Mixed Shapes Z1683) and inked it to match the strip. I tried to pull out a color that is very tiny on the strip, so I went with blue. For good measure, I stamped a flower on the D.E. and then added a little blue bling.

Here is the last card, again, same design layout, but with different colors/papers and a whole different look. I L-O-V-E finding a good "go to" type design that I can use with as many different colors/themes/patterns as I can find. Each one is unique, but they are easy to assemble because there isn't too much to do.
Here, I used 2 patterened papers out of the Mayberry pack from about a year ago. Ink the edges of the papers, add some dimension with a Dimensional Element and voila!
You are done!
Thanks for stopping by, please feel free to leave a comment to let me know what you think. I love followers, so add yourself!
Now hop on over to Rachel's Blog for more ideas of using up your stash.